Lying Down, Sitting, or Standing?
Photographing water birds is a beautiful challenge for any nature photographer. To achieve the most impressive shots, it is important not only to set up your equipment correctly but also to choose the right shooting angle. A low-angle perspective can transform an ordinary shot into a truly professional photograph. Let’s explore why a low angle is so important and how to use it effectively.
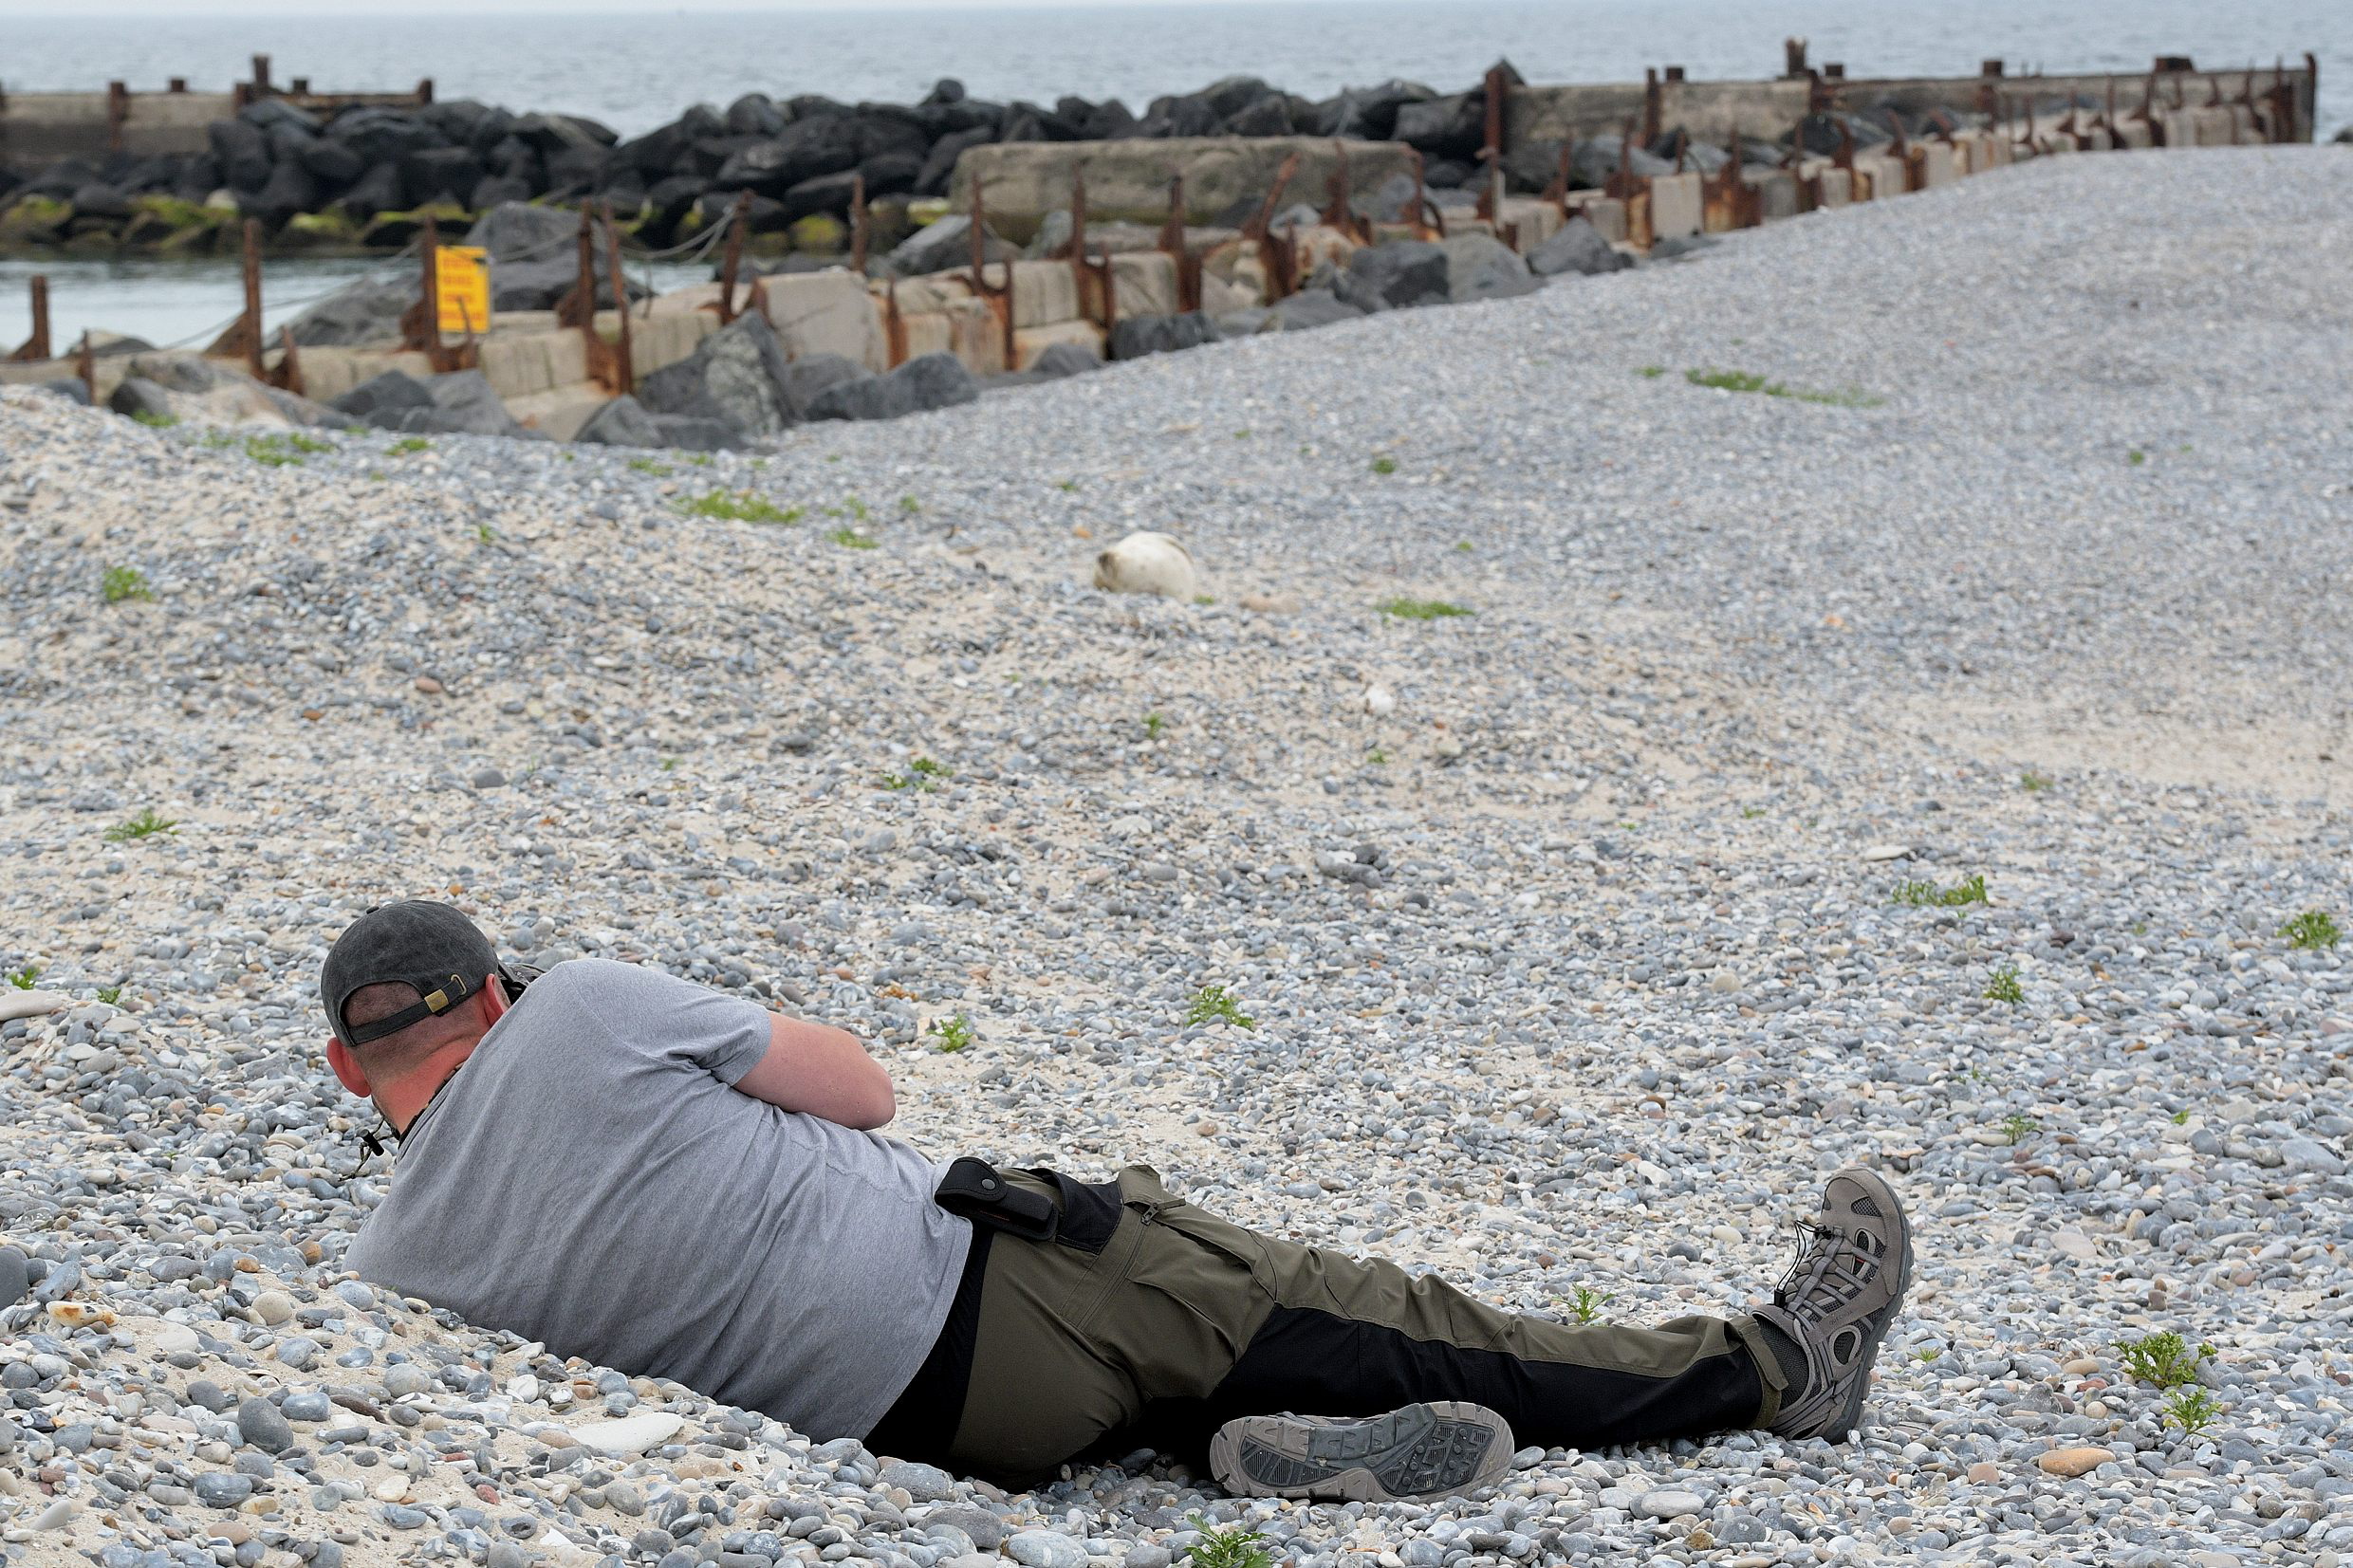
Illustrative photo. Helgoland 2023 and photography from lying down. The subject was a seal, but the idea is the same.
Why Shoot from a Low Angle?
- More Natural Perspective
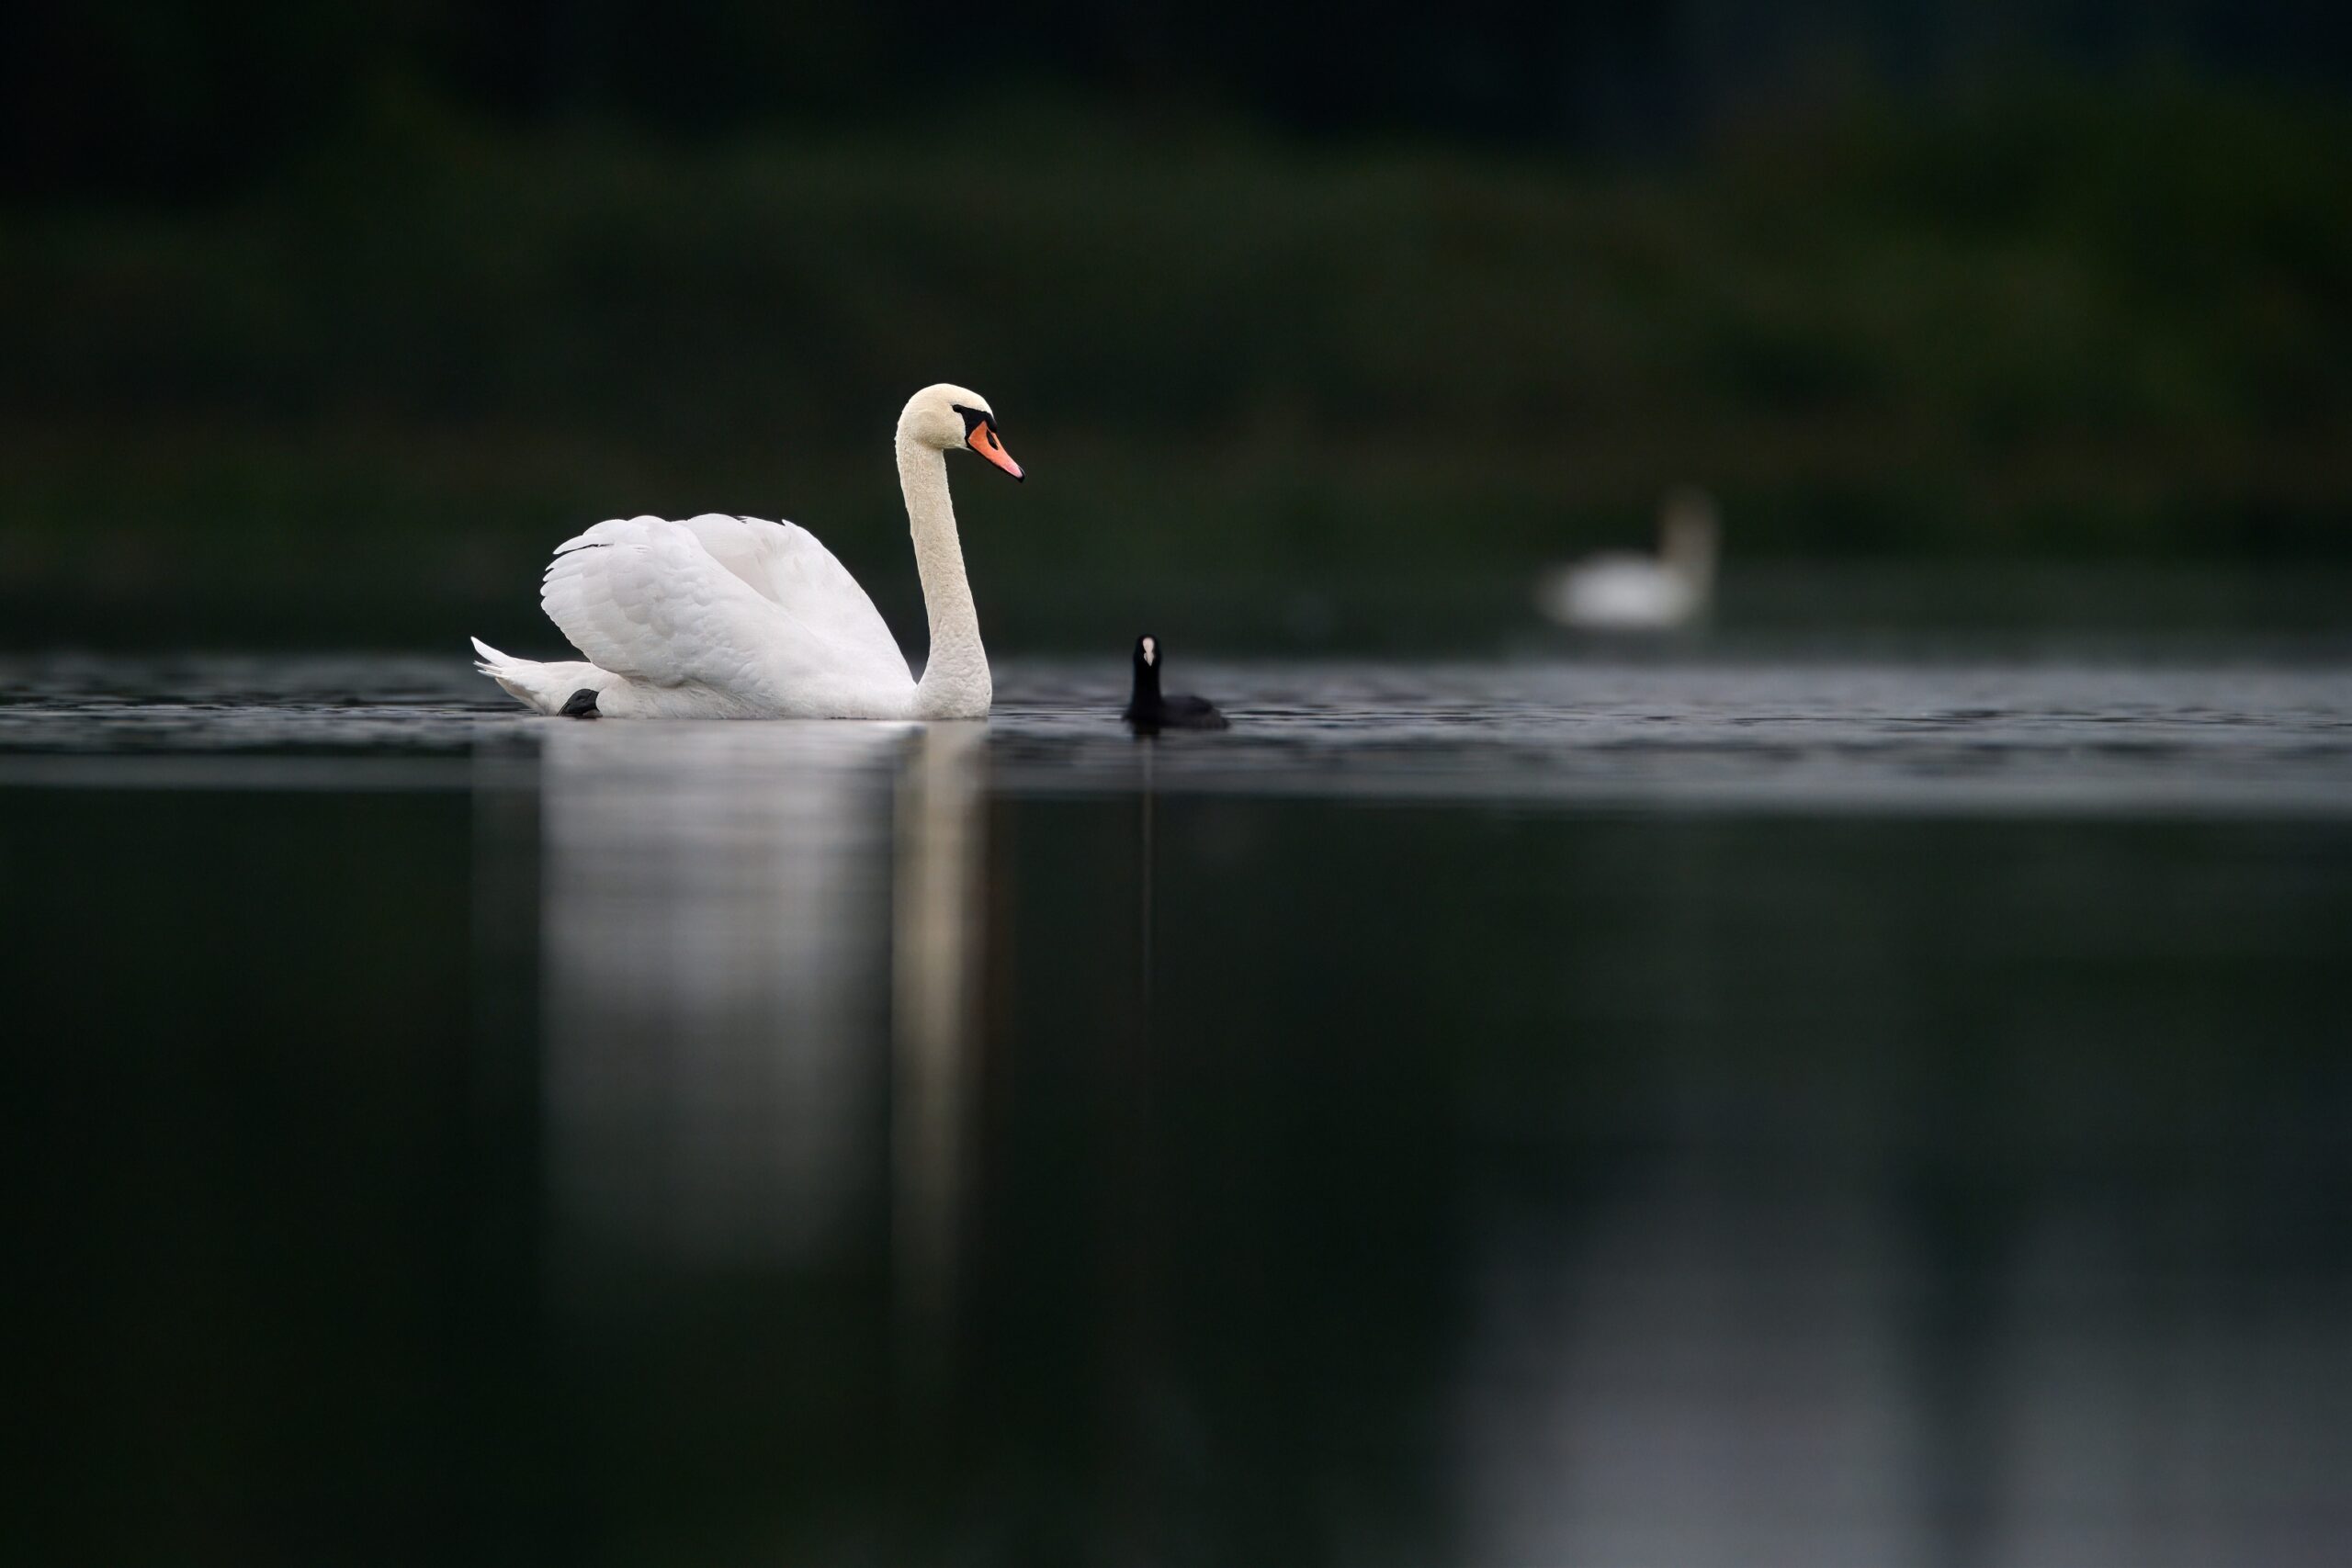
When photographing water birds from ground level, you reach their eye level. This makes the photograph look more natural and immerses the viewer in the scene. - Better Separation from the Background
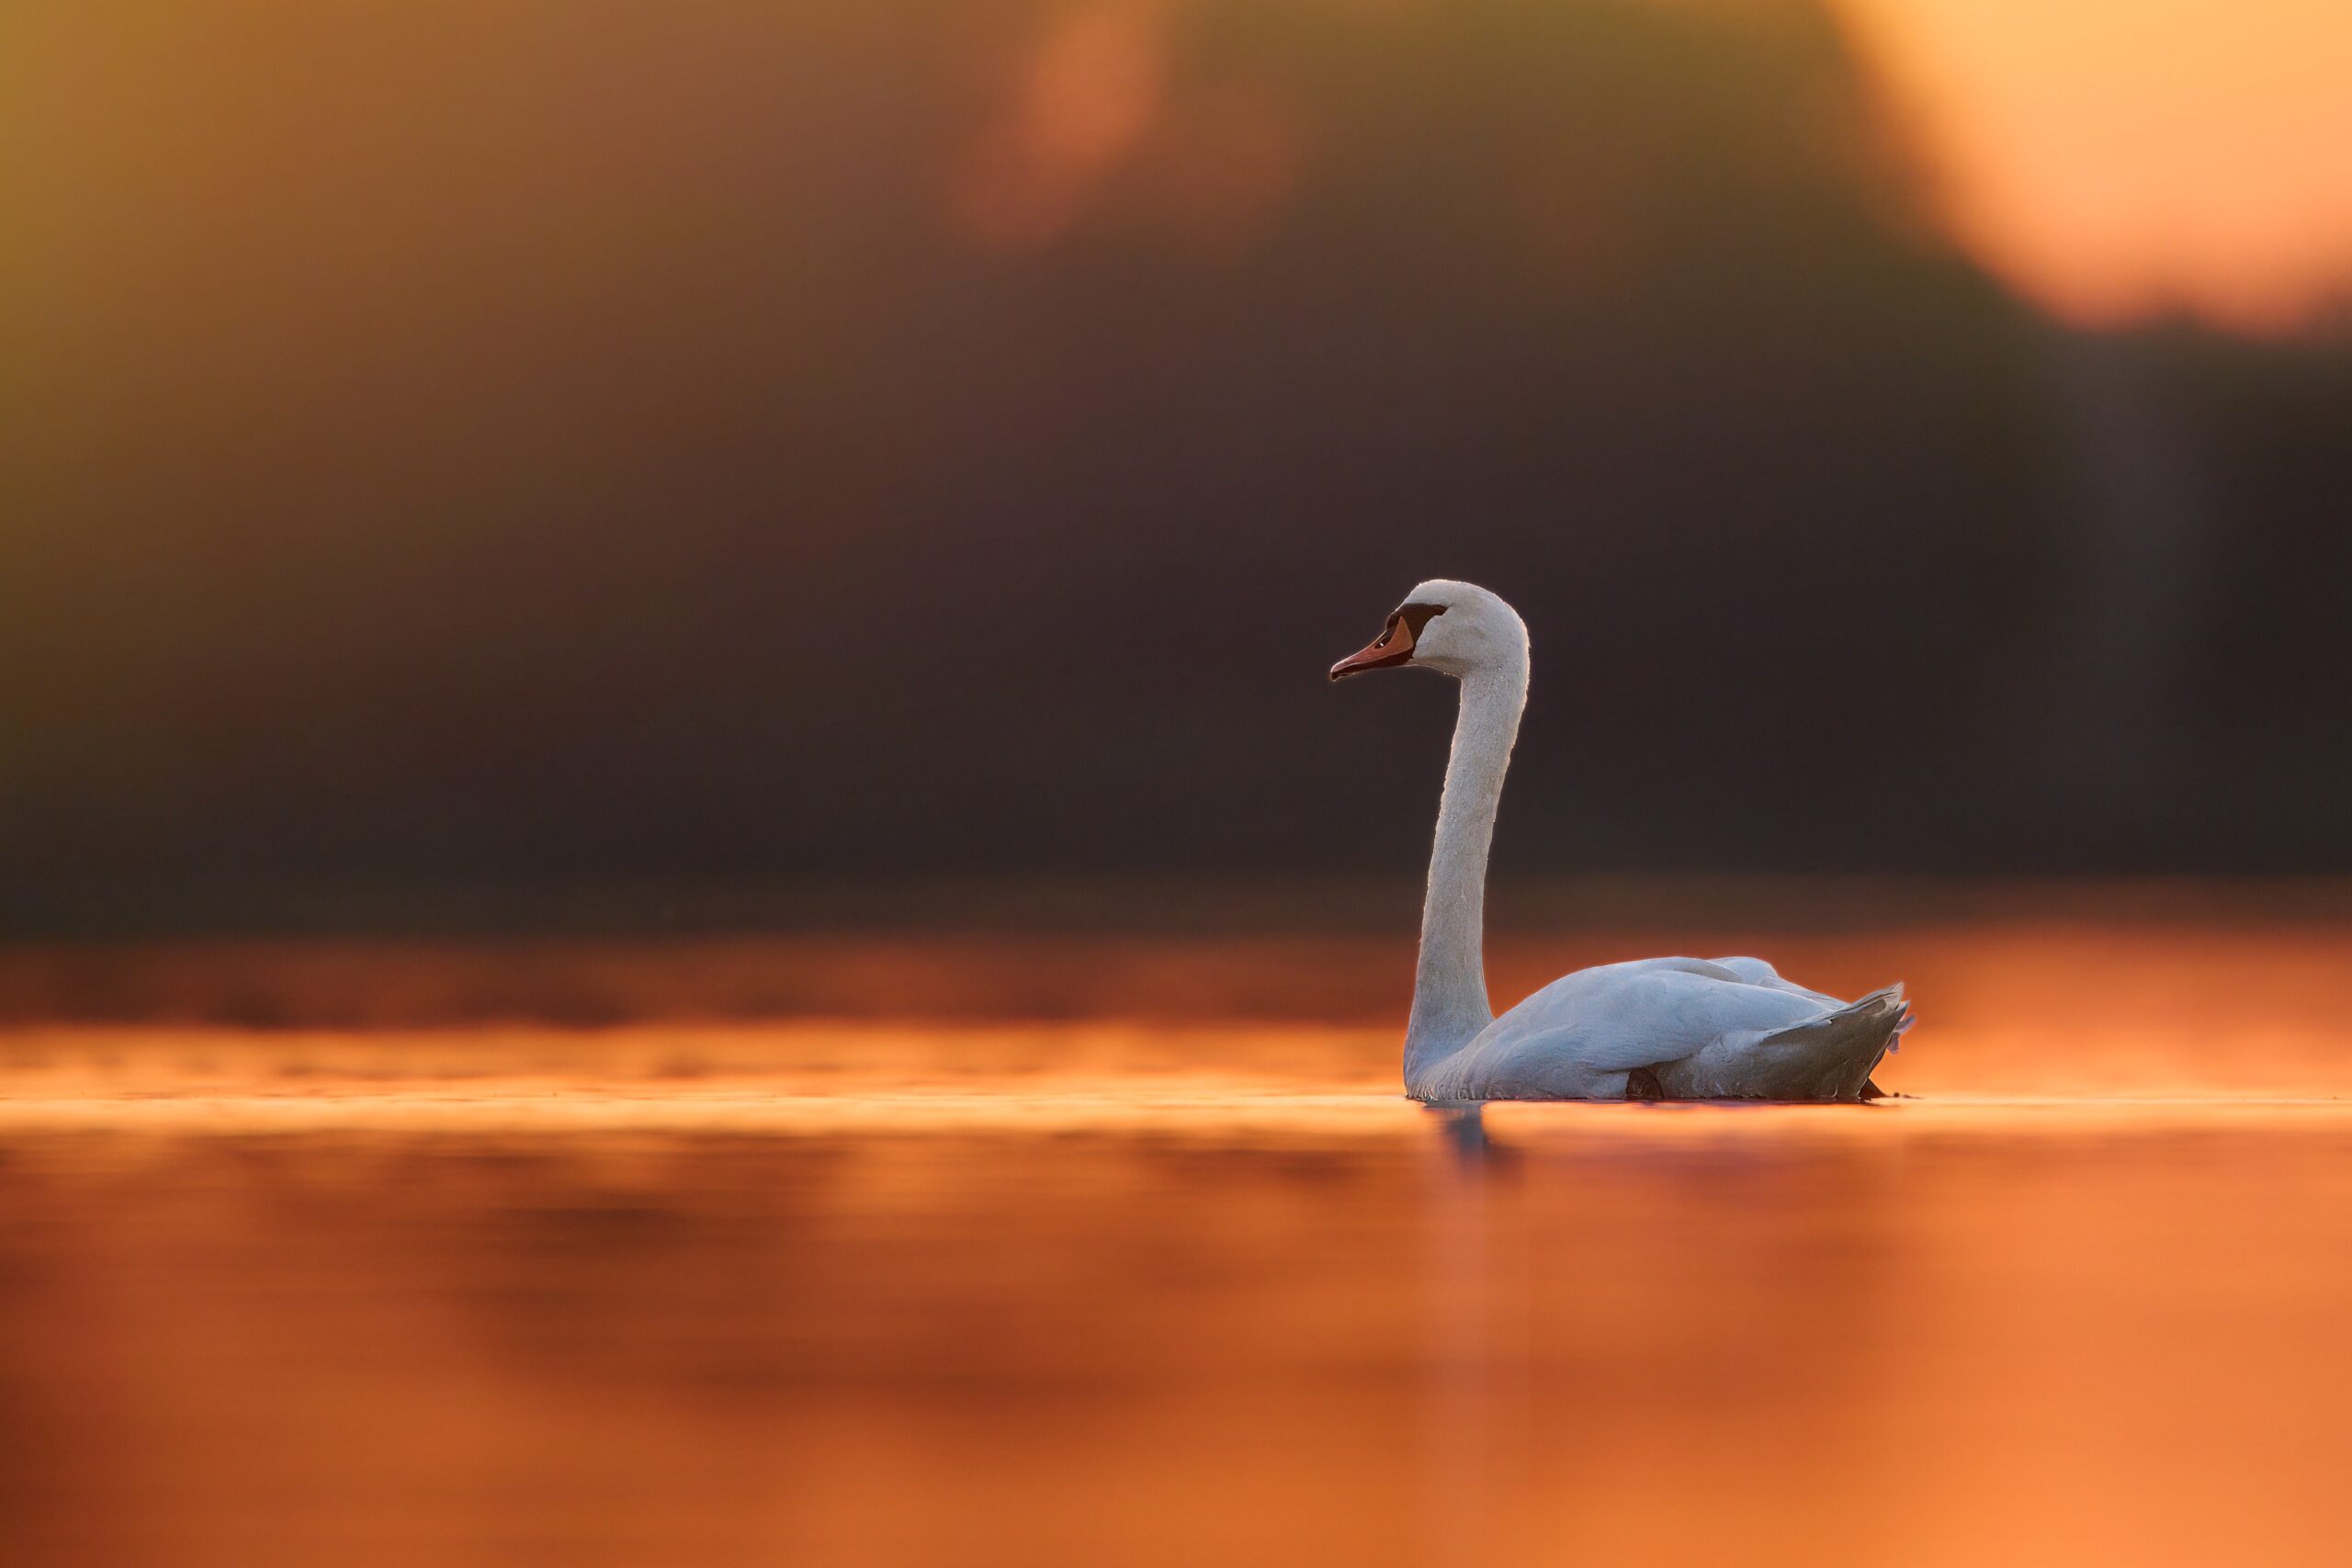
A low angle allows for a natural background blur (bokeh effect), helping to separate the subject from distracting surroundings and highlighting details of the bird’s feathers or behavior. - More Intense Reflections on the Water Surface
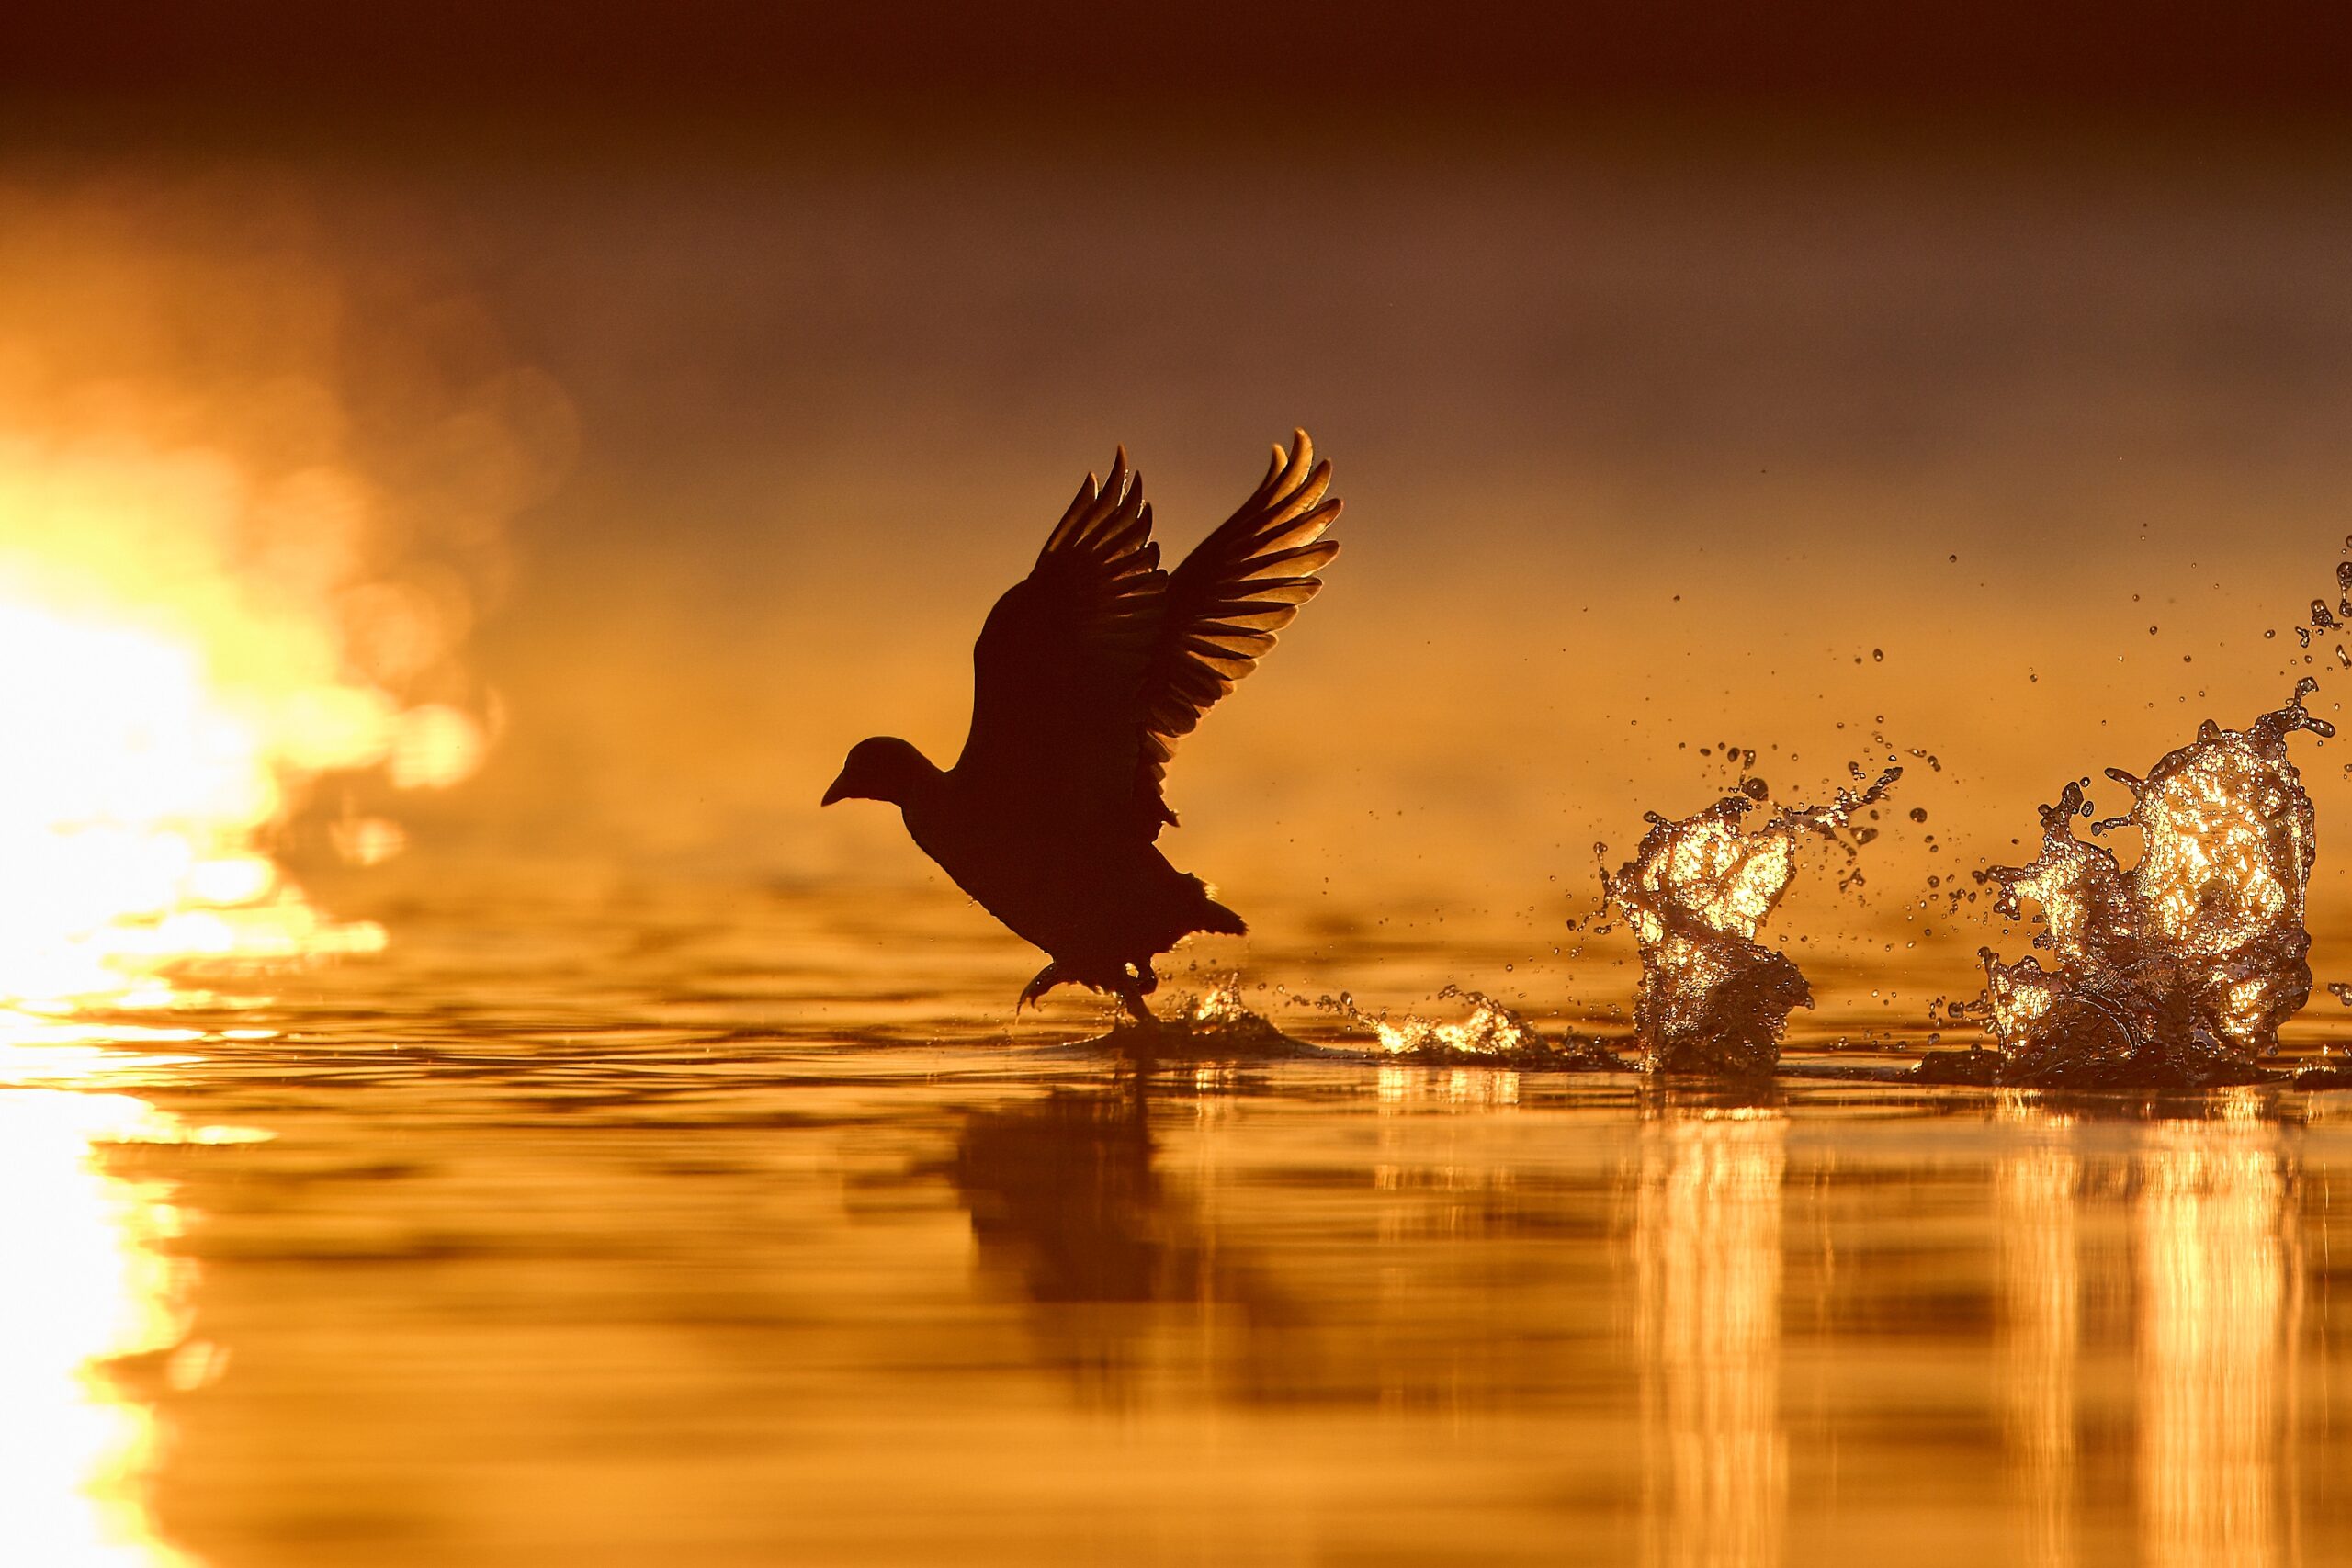
When photographing water birds, reflections on the water often play a key role. A low angle helps create symmetrical compositions that are visually striking. - Enhanced Image Dynamics
Shooting from a higher perspective can make birds look “lost” in their surroundings. A low angle adds drama and dynamism, capturing ripples, water movement, or droplets from a flying bird.
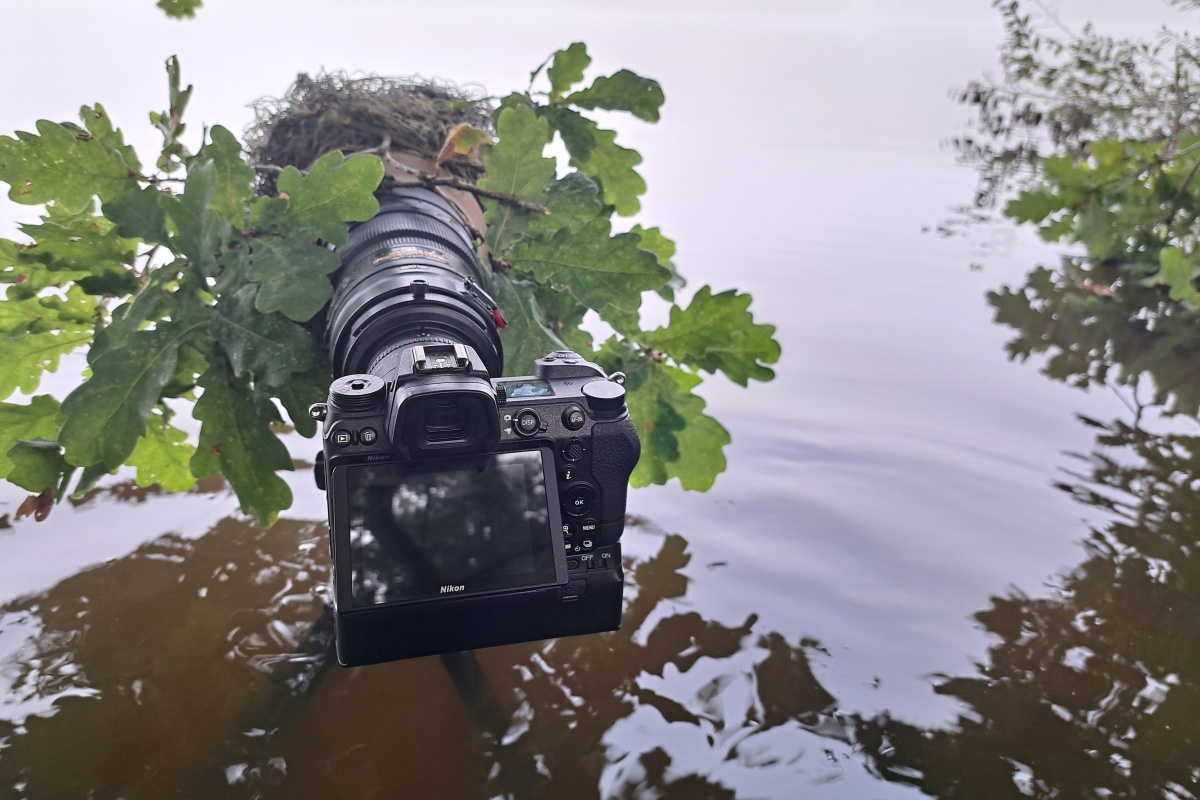
A tripod placed in the water and the camera as low as possible above the water, complete with camouflage depending on the shooting location.
How to Shoot from a Low Angle?
- Use a Ground Pod
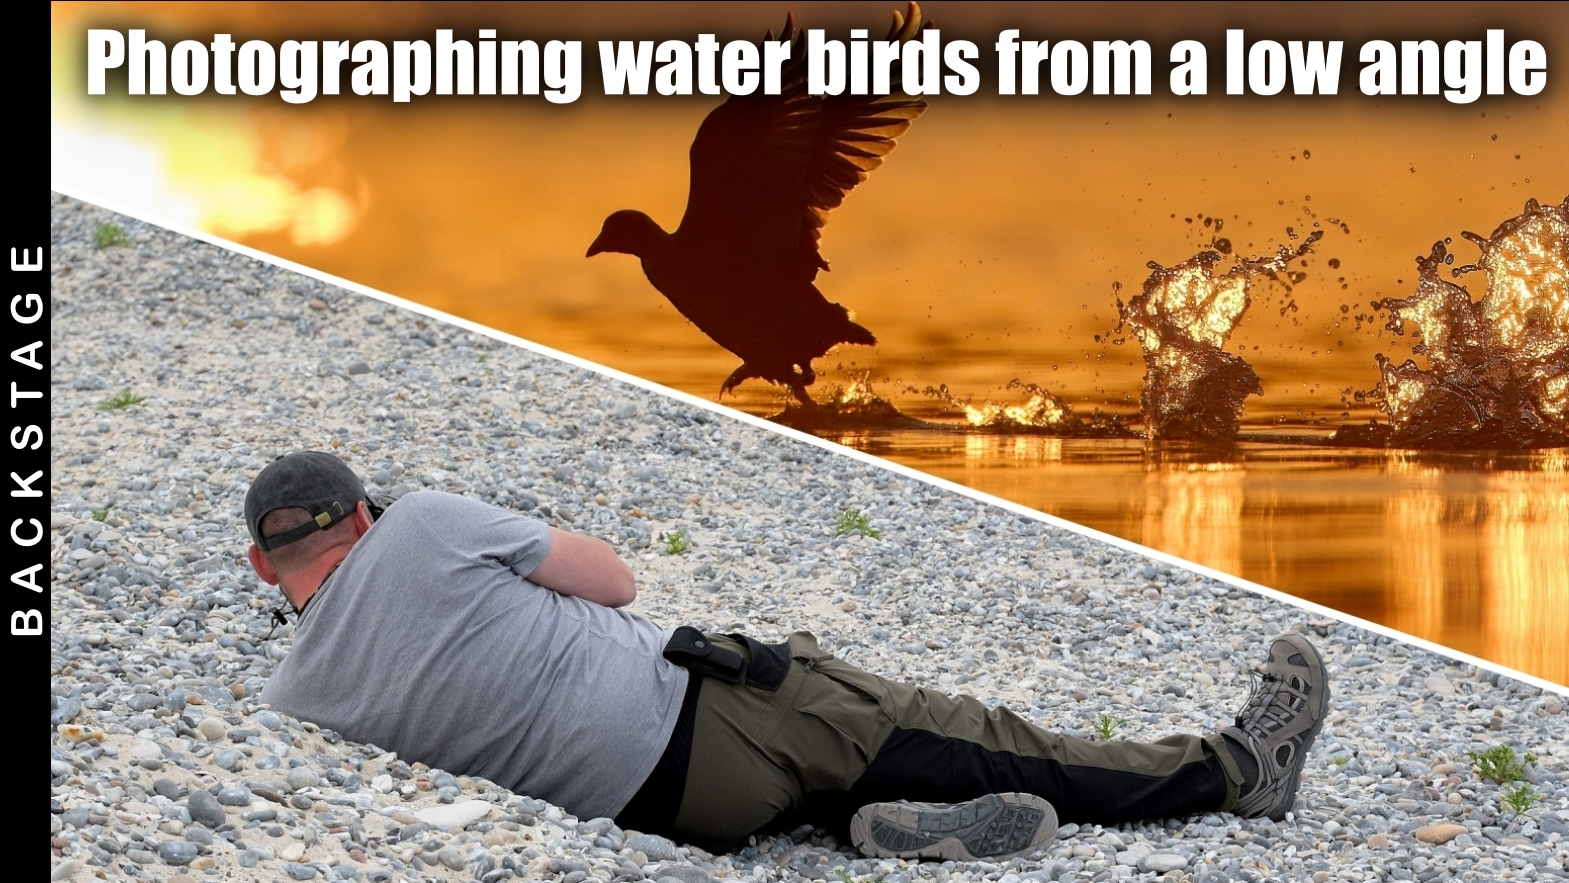
A ground pod or another stable support allows you to position your camera low while maintaining flexibility for smooth movement. - Lie Down on the Ground
The simplest but not always the most comfortable solution—just lie down. If you’re shooting on a soft riverbank or grass, this can work well, but be prepared to get wet or dirty. - Use a Monopod or Low Tripod
If you don’t want to lie directly on the ground, try using a low tripod or a monopod. Some models have legs that can extend almost horizontally. - Telephoto Lens with a Longer Focal Length
A longer focal length (e.g., 400mm or more) allows you to shoot from a safe distance while maintaining a beautiful composition. This also minimizes disturbance to birds in their natural habitat. - Camouflage and Discreet Approach
To ensure birds do not get scared and behave naturally, consider using camouflage nets, clothing in natural colors, or nearby vegetation for cover.
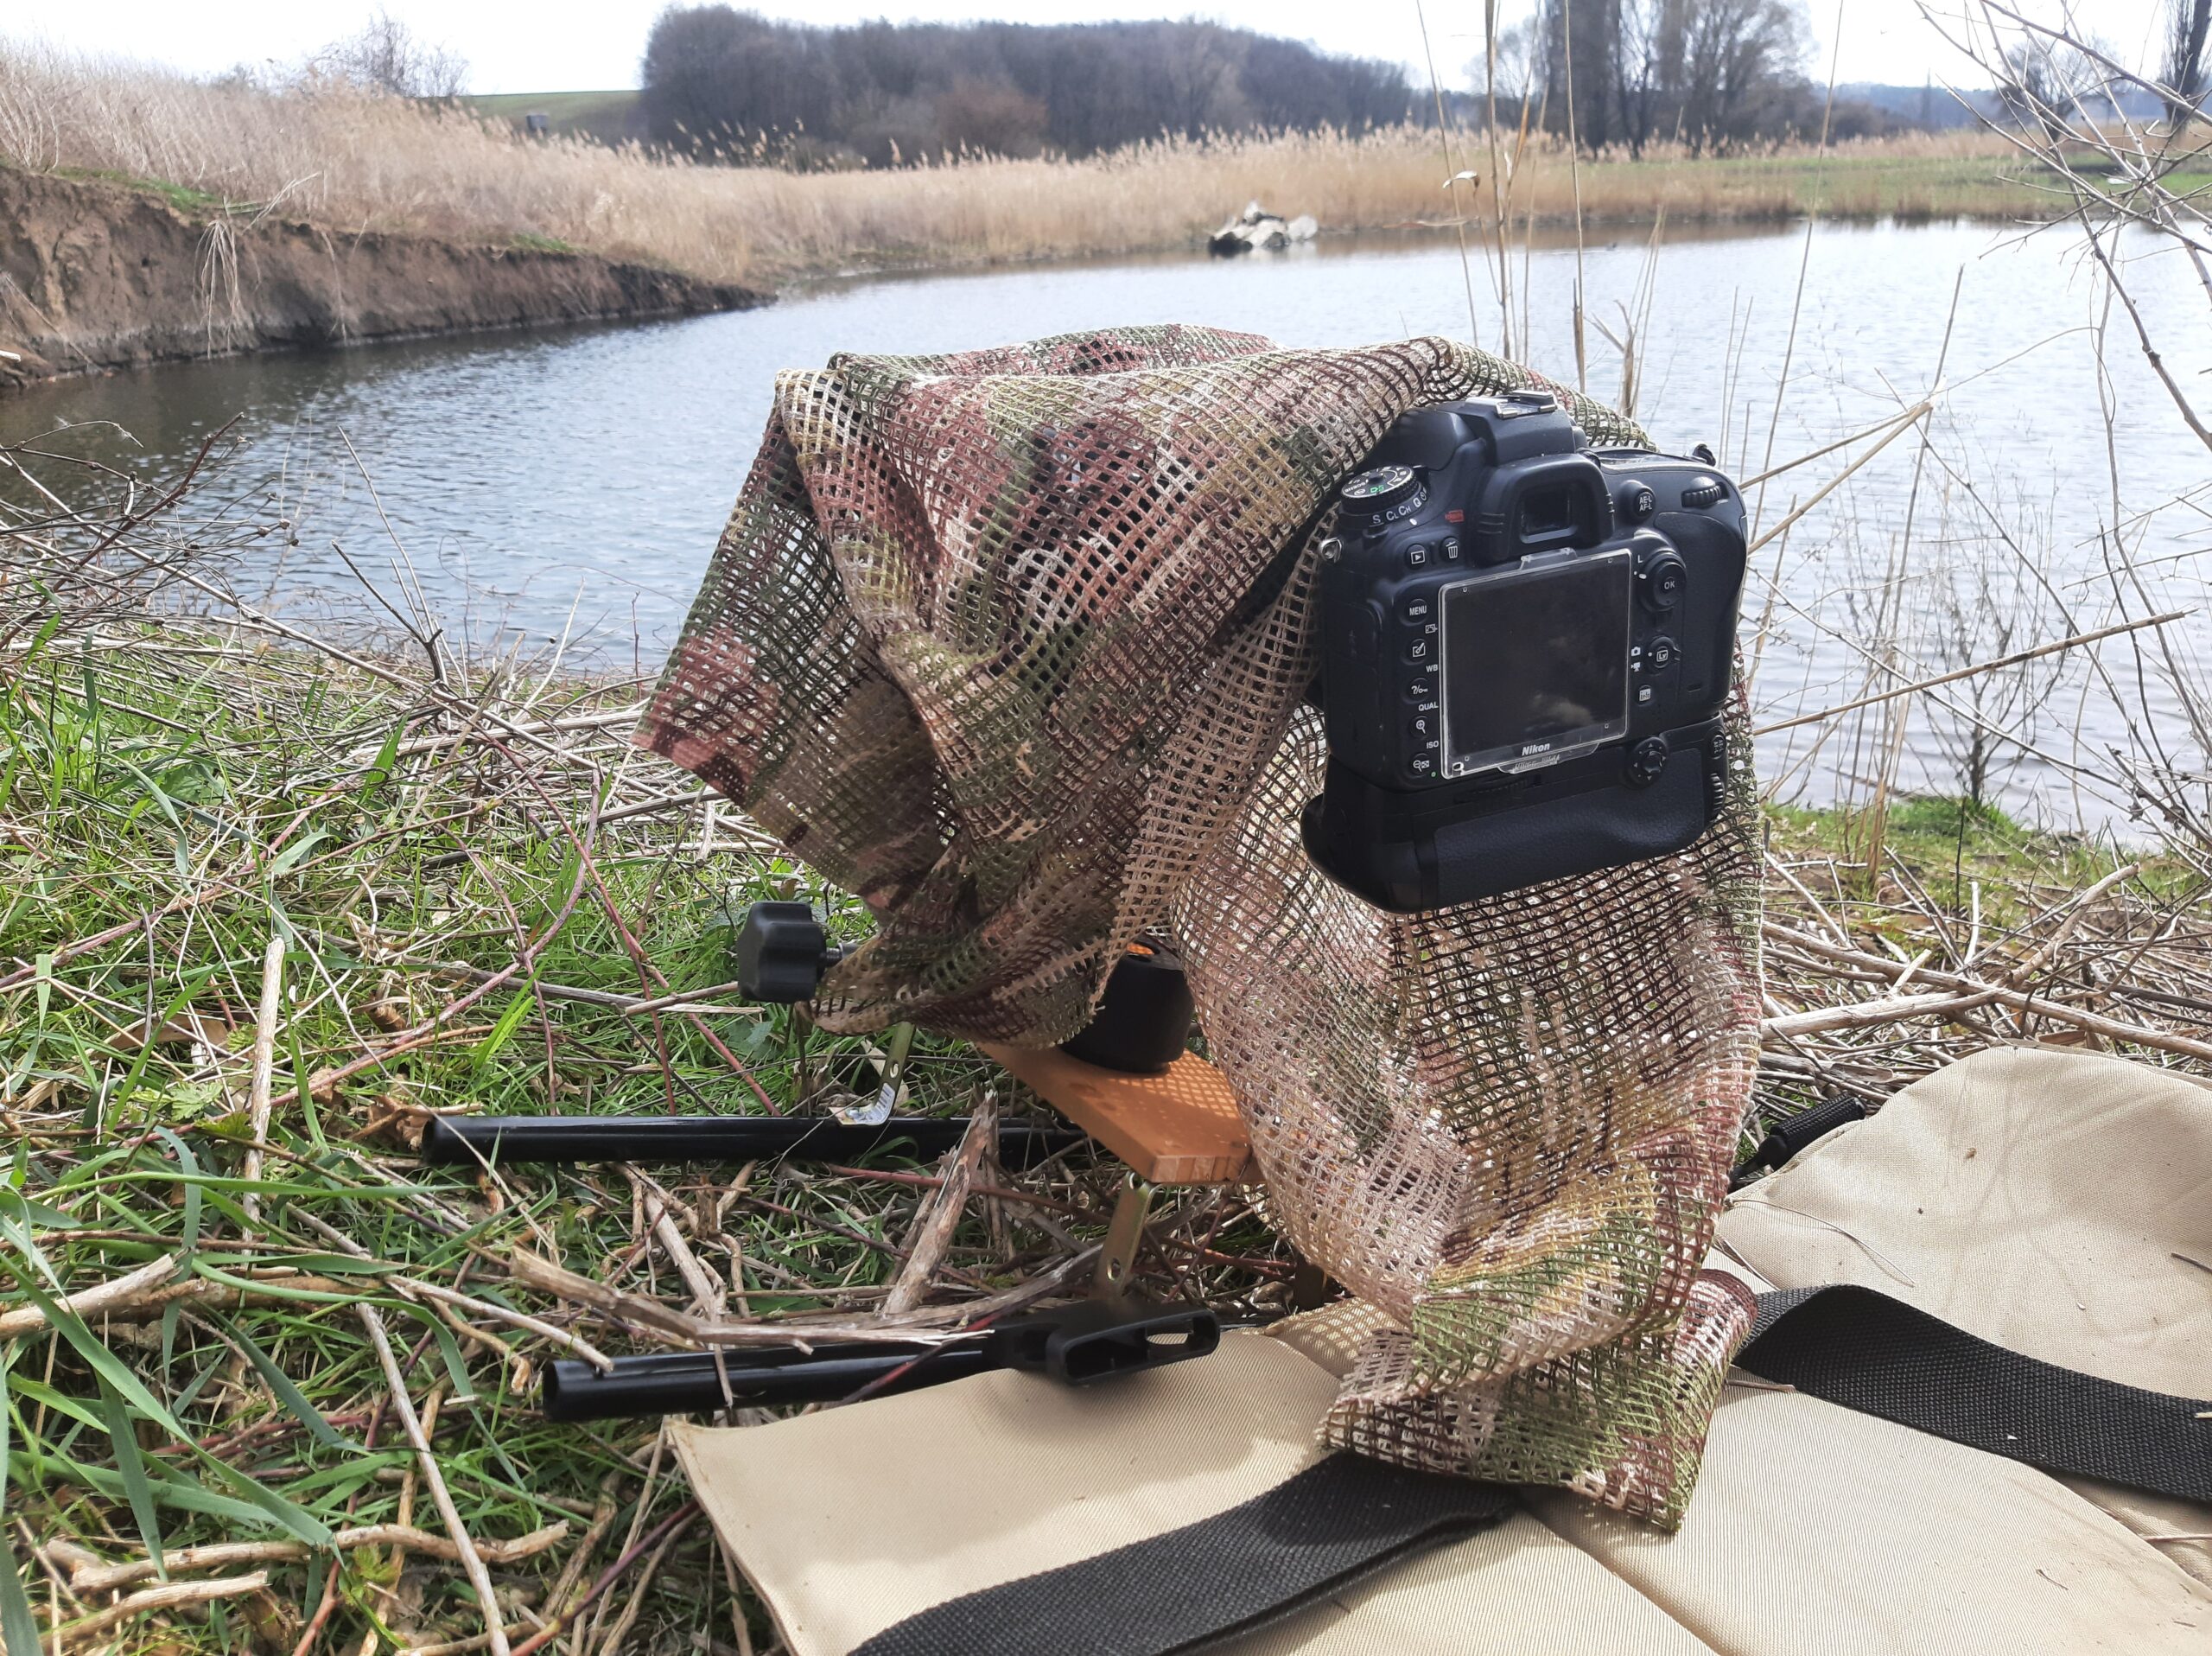
Camera mounted on the groundpod (sledge). Here I didn't shoot as low as possible above the water, but as low as possible above the ground to get to the level of where the kingfishers were perched.
Conclusion
Photographing water birds from a low angle not only results in more attractive and striking images but also fosters a deeper connection with nature. Whether you opt for a simple approach or use specialized equipment, the outcome is worth it. So, get out into the field and shoot low! 📸