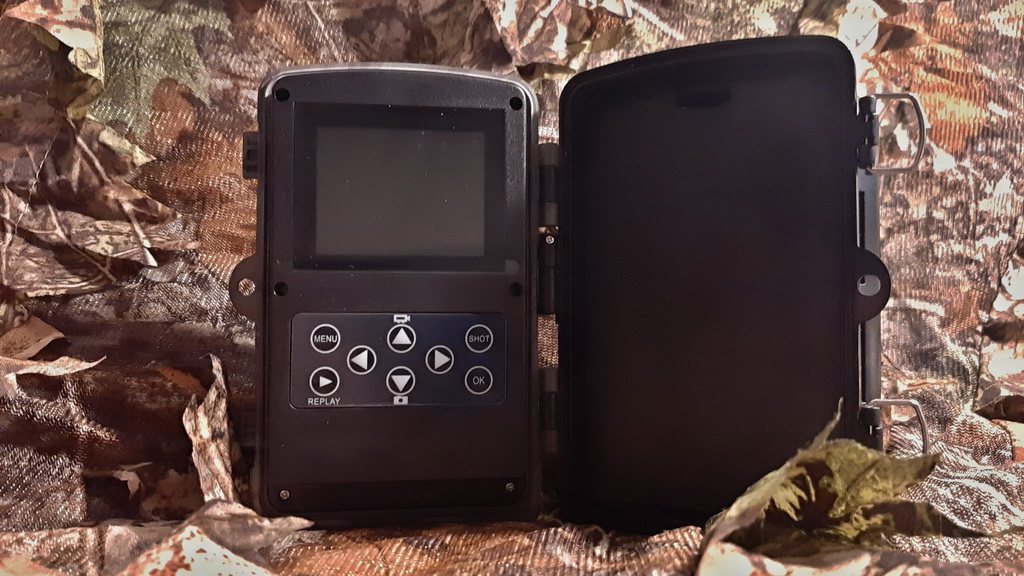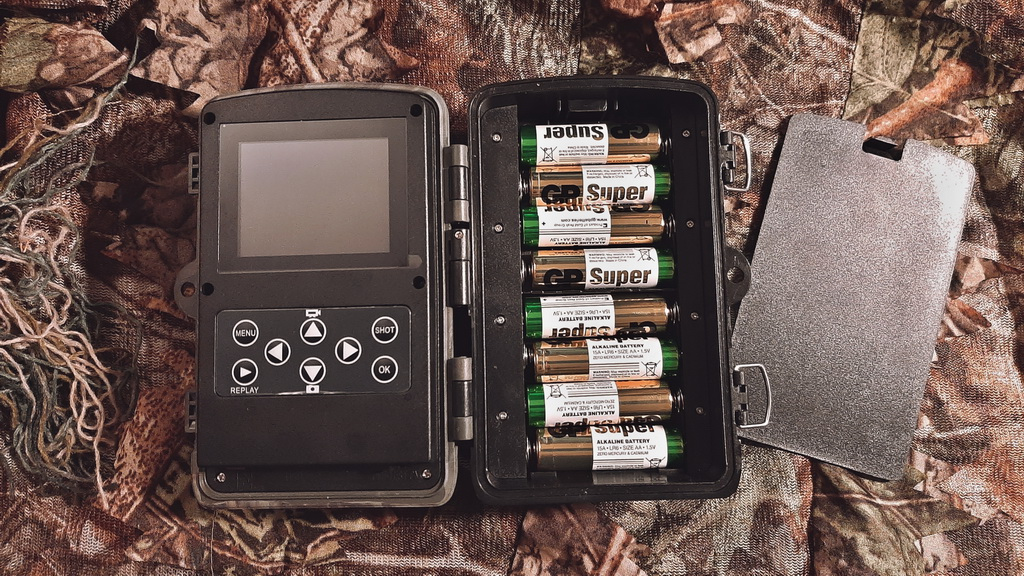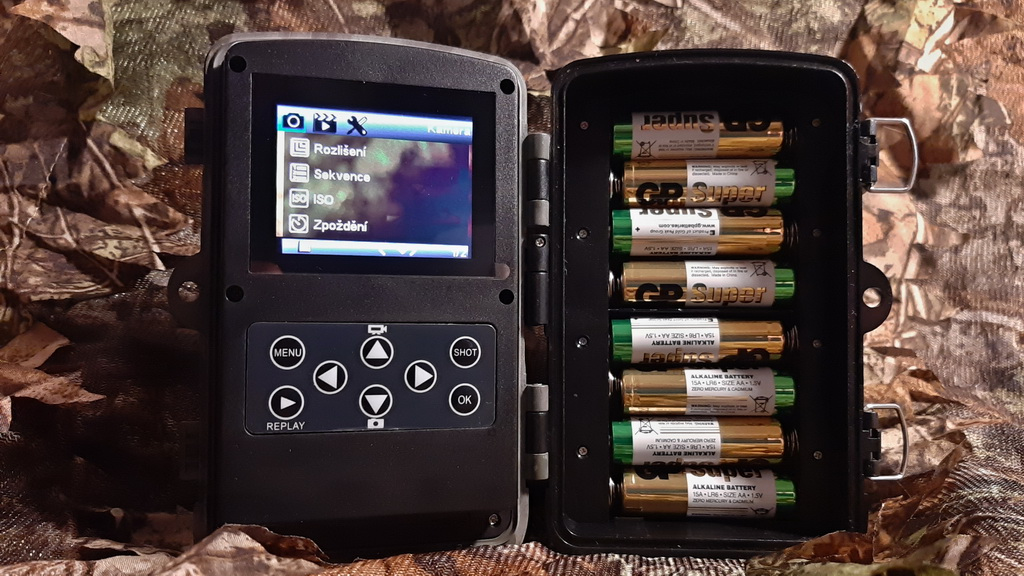
I’d been thinking about getting a trail camera for quite some time. I weighed up the pros and cons and, of course, the price range. In the end, partly thanks to some inspiration from an article, I took the plunge and the trail camera is now at home. The very next day it arrived, I set it up at a location I wanted to monitor for bird activity – that was my primary aim. After two days, I decided to change the location, partly because almost nothing had been photographed at the first spot in those two days. So I set up the camera trap in a new spot and, there, I built a new forest feeder and a bird bath for the birds.
USES
I mainly want to use the camera trap to monitor the site, so I’m not particularly fussy about the quality of the output, whether it’s video or photos. The device will primarily be used to monitor the spot where I take my photos. At least to begin with. As I’m also planning a project relating to birds of prey, I intend to use it elsewhere later on. There, its purpose will be to monitor whether birds of prey actually visit the ‘feeding site’ I’ll set up for them.
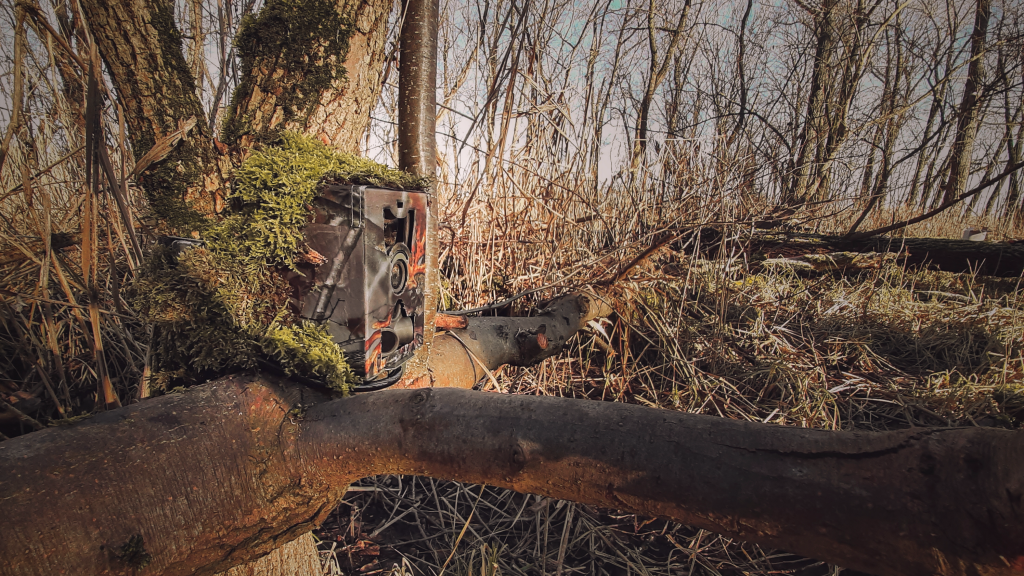
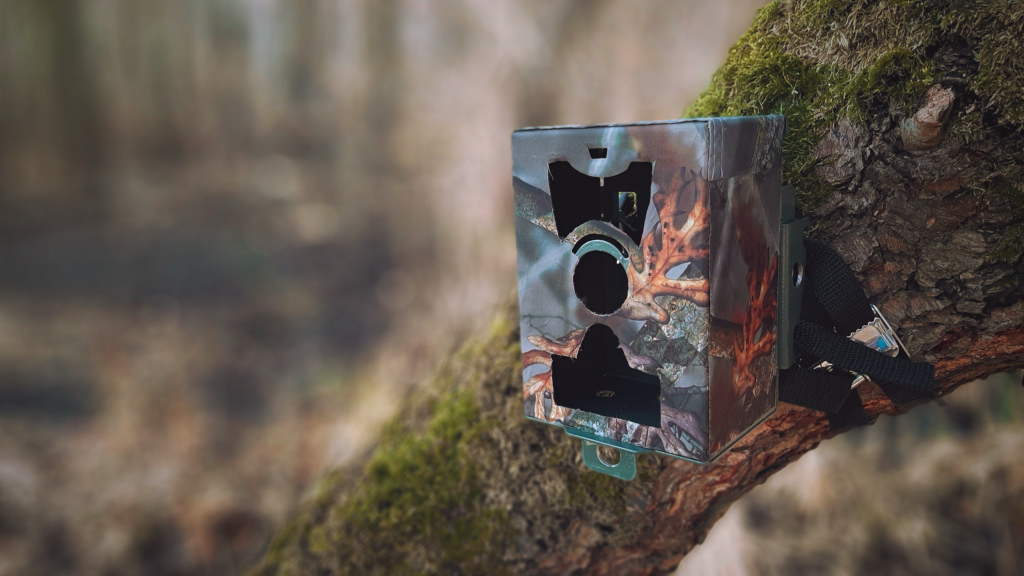
Nowadays, however, one has to consider the placement of a trail camera for other reasons as well. There are far more people out in the countryside these days than usual, so apart from the constant triggering of the camera trap by human movement, there is also an increased risk of theft and damage, as we have, after all, seen from reports out of the Šumava National Park. That is why, when I bought the camera trap, I also immediately purchased a metal casing for protection and a cable lock to secure it against theft.
I also decided to improve the camouflage. I covered the metal casing with a patch made from leftover waterproof camouflage fabric. In future, I plan to improve the camouflage even further, particularly to protect against damage or theft. This is despite the fact that the locations where I place the camera trap are not visited by many people.
TESTING – Evolveo StrongVision A
I’m currently in the testing phase. In the week that I’ve had the camera trap out in the field, I’ve identified two issues. The first is that you need to be careful when changing the memory card – the camera trap MUST be switched off, otherwise the recordings on the card will be corrupted and the card will become unreadable on a computer. And not just the last recording, but all of them. I’ve quickly got used to this and am now careful about it, even though it’s a bit of a nuisance.
The second issue concerns triggering the recording. Like many others, I’m primarily targeting birds. At a distance of about 2 metres from the feeder, the camera trap is only triggered by larger birds or other forest dwellers. Capturing small birds is more or less a matter of chance.
So far, I’ve been using an ISO sensitivity setting of 400, with a combination of 3 photographs and a 30-second video. The sensor sensitivity is set to high. I’m not entirely satisfied with this setup, so during my three-hour stay at the site, I tested a new configuration – ISO 100 and a 60-second video. Unfortunately, however, the camera trap did not capture a single image during those three hours, even though around 50 birds, including a great spotted woodpecker, visited the feeder over a 20-minute period. I therefore intend to test a new, time-lapse setting.
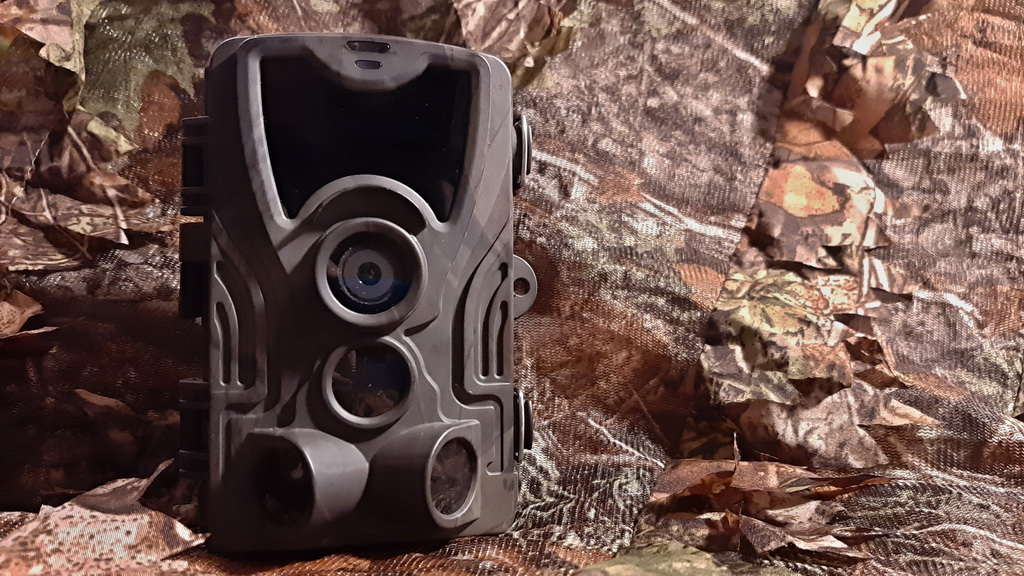
FROM THE MANUFACTURER
• IP65 waterproof rating
• triggers upon motion detection
• trigger speed: 0.3 seconds
• time-lapse camera
• infrared night vision (36 infrared LEDs with a wavelength of 940 nm = invisible spectrum, IR LED range: 25 m)
• Supports viewing of photos and videos on the camera display
• Photos and videos stored on a microSD card, up to 32 GB
• Photo resolution: 20 MP, 16 MP or 12 MP
• Video resolution with sound: Full HD, HD or VGA
• Colour photos for daytime shooting, black-and-white photos for night-time shooting